15 June 2016

Early Finishers

It's summertime and I'm excited to finally find some time to blog and work on some of my unfinished projects.  One of those projects was to make a smaller version of my Early Finisher Calendars.
 
Let me start by explaining what my Early Finisher Calendars are.  They are calendars that I created specifically for my second graders that finish early.  You know, the ones that finish everything in record breaking time.  I wanted to have engaging activities to work on that were meaningful, but didn't require a lot of materials and preparation on my part.  These calendars were the perfect solution!  My students enjoyed working on the activities and were no longer asking the age old question, what do I do next?


When I first began using these calendars, I simply displayed each calendar on my Smartboard.  This worked great, because it was nice and large and they could easily see it from their seat.  Ultimately, this wasn't a long time solution for me, since about 80% of the day, my Smartboard is being used for one thing or another.  My next plan was to print 5 colored copies and place them in the same place they grab their station work.  This made it easy for students to grab the calendars and go.  This worked out great, but I soon discovered that 5 copies was not nearly enough. Last year, I found myself having to make several extra copies a month.  Of course, several of my missing copies would magically reappear when it was time to clean out desks.  For the upcoming year, I believe I have the perfect solution.  I will still print 5 full size copies for students to use, but I will also have a mini version for each of my tables.  The mini versions will have color coded ribbon which will match the table color it belongs to.  These sets will have to be returned to their table bins after they are used.  This will eliminate the problem of calendars disappearing into desks.  I always do a quick table check at the end of the day, so it will be up to each group to check that everything is neatly in their buckets, so they can earn their table point.


My students are free to choose any activity they like on the calendar of the month.  If they finish the activity and still have time to spare, they are free to choose another activity.  Last year, I simply had them use blank notebook paper.  Their completed pages were placed in their station files along with their station work.  Next year, I am going to have a spiral designated just for their Early Finisher work.

Here is the cover (it's a FREEBIE):
https://drive.google.com/file/d/0B3Cmz2vCWLe6THU2NHlZQzBsbGs/view?usp=sharing
I plan to start the year with only the August calendar on their ring.  Each month, I will add the next calendar.  They will be allowed to go back to past calendars if they like.  However, they won't be able to see future calendars until the beginning of each month.  I will periodically (like once a week) ask for their notebooks, so I can quickly peek at their work.  I love to give them feedback and they like to show what they have done.  I usually try to find a free moment here and there to sneek peeks at their work.  This gives me a chance to brag about some of those students that really go above and beyond.  It also gives me a chance to spotlight some of those students that need the extra encouragement.  I LOVE that these calendars often lead me to some great teachable moments.

You can check out these calendars in my TPT store.  They are designed for second grade students.
The bundled set below contains the mini versions.  
 
https://www.teacherspayteachers.com/Product/Early-Finisher-Calendar-Bundle-1968469


30 April 2016

Poetry Stations Made Simple

It has been quite awhile since my last post.  I really hope with summer around the corner, I'll be able to dedicate more time to my blog.  Over the last month, I've done some reflecting on what isn't working quite as well as I'd like in my classroom.

This was an easy choice for me.  I knew right away it was my Poetry Station.  My students are given a poem for the week, which they cut out and glue in their journal.  On the opposite page, they make connections to the poem and then illustrate under their writing.   This year, my students have been avoiding this station like the plague.  By the end of the week, my poem file would remain full of unused poems.   I became determined to find a way to get my class more excited about poetry.

I decided to start by thumbing through the collection of poems I've been using over the years.  One thing I noticed was that even though they were supposed to be kid friendly, perhaps they weren't as kid friendly as I thought.  I started to draw the conclusion that maybe my students were reluctant to write about the poems, because they were having trouble understanding or making personal connections to the poems I had chosen.  I decided to test this out by writing an original kid friendly poem that went along with the theme of the story we were reading for the week.  I created a simple template that still had space for them to make a personal connection, but also focused on a few grammar concepts.  I slipped it in as their new station and waited to see how they responded.  I couldn't believe how well it went.  They absolutely LOVED the new format and really seemed to enjoy the simple poems.  I've gone from the poetry station being the least popular station to some even wanting to get it done during recess.  I have continued this for about a month now and my poetry station is definitely a new class favorite!

Here is a peek at a couple of our poems:


I've been feverishly writing poems over the last month and have a current total of 14.  There are numerous topics available to choose from that will most likely connect well to many of the stories you are reading in your own classrooms.  This resource will continue to grow. I have plans to at least double the current size. Right now, you can get it at its lowest price.  I will increase the price as new poems are added.

https://www.teacherspayteachers.com/Product/Poetry-Notebook-Poems-for-Stations-2529926
I'd love to give it away to one lucky teacher tomorrow evening.  Simply leave your e-mail for a chance to win. (Giveaway has ended)
 

07 February 2016

100th Day of School and Valentine's Day

We just finished celebrating the 100th Day of School last week and Valentine's Day is just around the corner.  I thought I'd share a resource that could be used to celebrate both.   This little craftivity goes along PERFECTLY with the book, The Day It Rained Hearts by Felicia Bond.  After reading aloud the story, students can draw themselves and then start adding the hearts.  If you are using it for the 100th Day of School, your students can color the 24 hearts included in the resource and then add the hearts needed to make 100.  They could either draw them, stamp them, use a heart hole punch, or even use stickers.  If you are using it for Valentine's Day, then the hearts included will probably do.  There is also writing paper included for students to write an imaginative story about the day it rained HEARTS.  Click the image below to check it out.
  https://www.teacherspayteachers.com/Product/Its-Raining-Hearts-2375372 
Check out a few examples here:


 I also created some fun Monster Valentine's to share with your little mon-stars.  Click on the picture below to download the cards.

https://drive.google.com/file/d/0B3Cmz2vCWLe6S3d0UUpySkd3eEk/view?usp=sharing

We also had to create a Valentine's box for my little guy's Valentine's party this week.  He wanted to go with Darth Vader.  I wanted to make a monster.  So, we met in the middle and made a dinosaur. I think it's super cute, but I'm pretty sure I'll be making Darth Vader next year!


31 December 2015

Christmas Monsters

It is the last day of December, so I figured I better post my Christmas Monsters before ringing in the new year.  We made these monster ornaments as parents gifts before the break.  I have a monster themed classroom, so I really wanted to stay with the monster theme.  I also wanted it to be something that they could completely make on their own.  Here is a look at one of our little monsters:


They were really simple and required minimal materials.  We used burlap for the face as well as an assortment of googly eyes.  The horns, mouth, and heart were all made using different sized ribbon.  I just used cardstock for the teeth.  Here is some of the burlap I used.  I actually just purchased the polka dot one on clearance, so I think it'll be a cute monster for next year.  I love the glittery gold polka dots!


I used a popsicle stick to reinforce the top.  They glued the horns on the popsicle stick first and then we attached the burlap on top.  The popsicle stick made it easy to attach the ribbon to hang it.  I also had them sign the back of the popsicle stick.


My students were so creative with their little monsters.  I love the diversity!


Here are a few of their monsters up close:


I attached the cute little monster poem below to the ornament and sent them to their new homes. 
https://drive.google.com/file/d/0B3Cmz2vCWLe6anJreUdTa0g2YUk/view?usp=sharing
 

21 November 2015

Doodle Turkeys

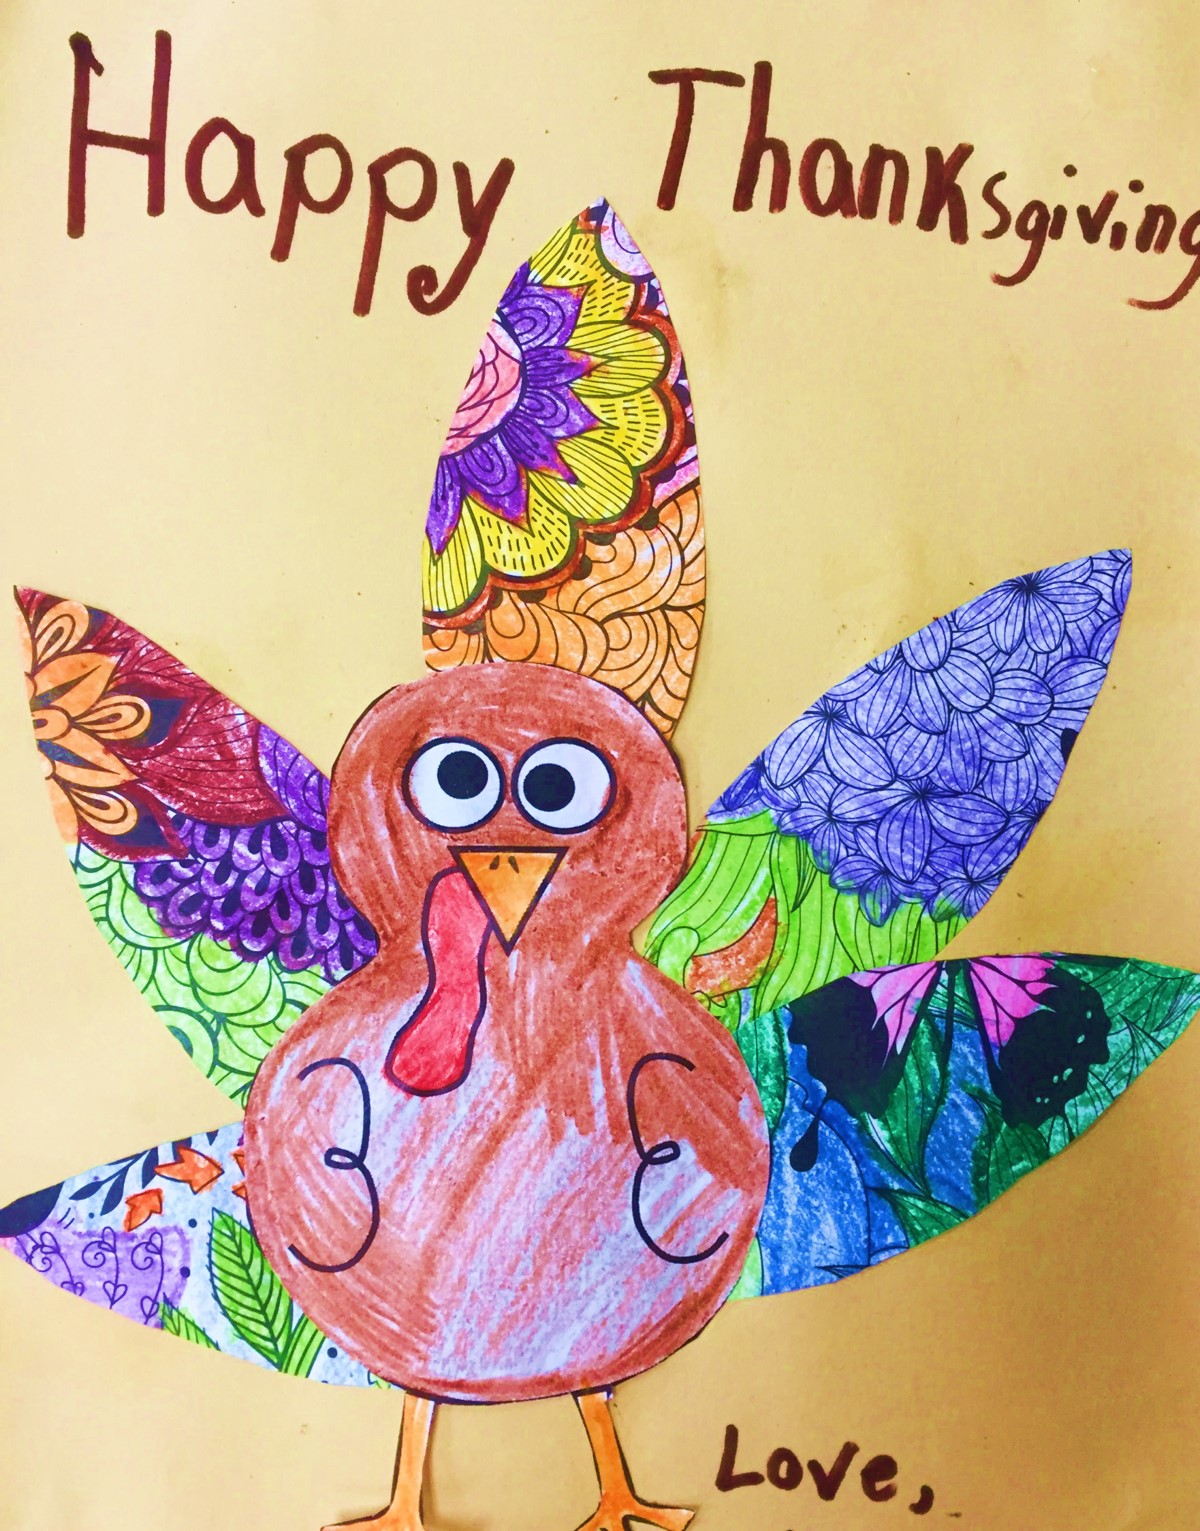
I found a doodle coloring book at Walmart, and had this crazy idea to make doodle turkey feathers using the coloring book pages.  They really came out cute and were simple to make.


If you'd like to create a Doodle Turkey with your little ones, but don't have a Doodle Coloring Book, I have a resource that has doodle feathers already included.  You can check it out here.

https://www.teacherspayteachers.com/Product/Doodle-Feather-Turkey-2221373

27 September 2015

Fry Words 1-150

Hello Teacher  Friends,
I created these little Power Points for my kindergarten sweetie at home, but these words also happen to be the same words that my second graders need to know by the end of second grade.  I plan on putting these Power Points on my student computers, so my students that have not yet mastered them can practice away.  I also have them in a printable version in my TPT store.  You can check them out here.

I really like the Power Points because they are larger than the printable versions and I have the transitions set to three seconds.  I will probably even use the Power Points to test my students on the words.  They are a FREEBIE, so click below to snag them.  YES...I will be adding the next sets of Fry words really soon.


https://drive.google.com/file/d/0B6d2rFkzakhZY2tBQm5fN3dlM2s/view?usp=sharing

https://drive.google.com/file/d/0B6d2rFkzakhZLUE1MWFQai0tMzg/view?usp=sharing

https://drive.google.com/file/d/0B3Cmz2vCWLe6OHNtc2RjNWdMRDQ/view?usp=sharing

05 September 2015

Monsterrific Daily Five for Math

Hi Friends!

This year has gotten off to a great start! I absolutely love my students and look forward to a monsterrific year with them! 

Today, I wanted to share a little freebie for all the monster loving teachers out there.  I had a request from a sweet teacher to make Daily Five icons for Math with a monster theme.  They go along with the reading set that is also available on my blog here.  I don't currently use the Math Daily Five in my own classroom.  I think the Daily Cafe calls it, Math Daily 3.  I added a few extra icons for those interested in expanding it.  I definitely plan to read the book by The 2 Sisters,  I love the Daily Five for literacy, so I am super excited to learn more about implementing something similar in math!  If you currently use it in your own classroom, I'd love to hear more about how you use it in your classroom.

Click the image below to get the FREEBIE.
https://drive.google.com/file/d/0B3Cmz2vCWLe6X2pUSUZpRGNDR1k/view?usp=sharing

03 July 2015

TPT Seller Challenge: Make Your Masterpiece

This is the third week of the Seller Challenge hosted by Third in HollywoodSparkling in SecondPeppy Zesty Teacherista, and Teach Create Motivate. This week is all about CREATING.

I am super excited to share my newest product.  I had so much fun creating a product all about Miss Nelson and Viola Swamp.  I also loved having a chance to create some clip art especially for this product.


I love starting the year off with Miss Nelson.   My little ones always make great connections to the story and the themes are so easy for them to relate to.  I can't wait to introduce these activities to my incoming second graders.  Here's a little peek at some of what's included:


There are other great activities included to teach your students about writing friendly letters.  A friendly letter template is included, so students can write Miss Nelson or Viola Swamp a letter persuading her to return to Rm. 207. There is also a Miss Nelson poem that students can place in a reading response or poetry journal.  It's a great poem for students to visualize and make connections to.  The Diamante poems will be a little more challenging for little ones, but I have included word banks to make it as easy as possible for younger learners.

If you love Miss Nelson and Viola Swamp as much as I do,  I really hope you'll check out this resource.   You can click on the image below to head over to TPT to check it out.


As always, I'd LOVE to give away a free copy to one lucky teacher.  Simply leave a comment with your e-mail and I'll draw a name later this evening.